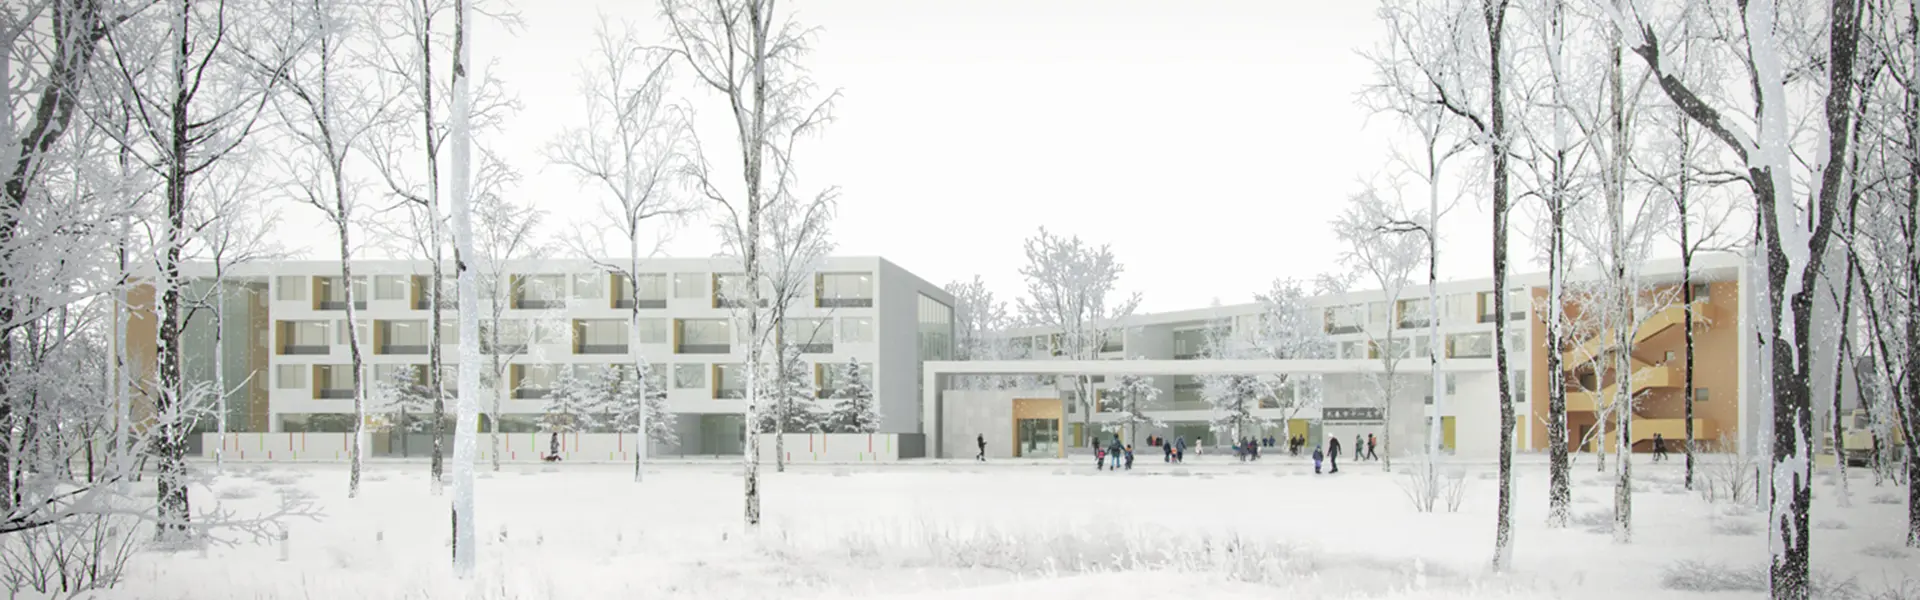
- Exterior
Rendering Guidance - Interior
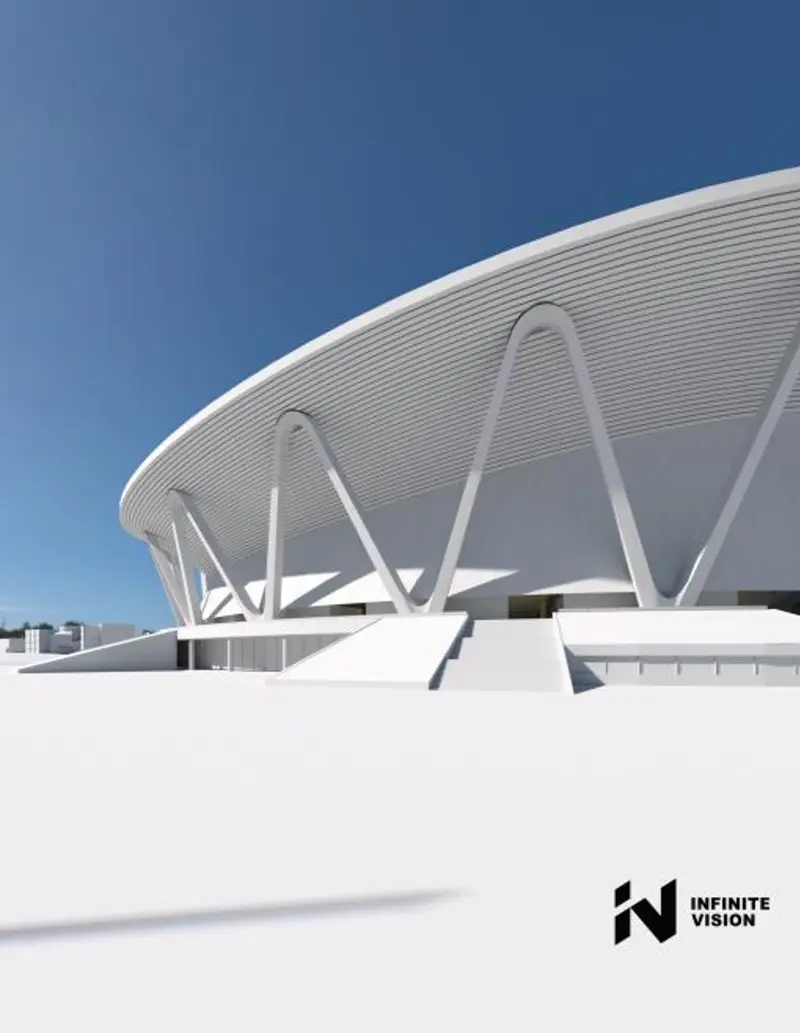
Rendering Guidance - 3D
Animation Guidance
-

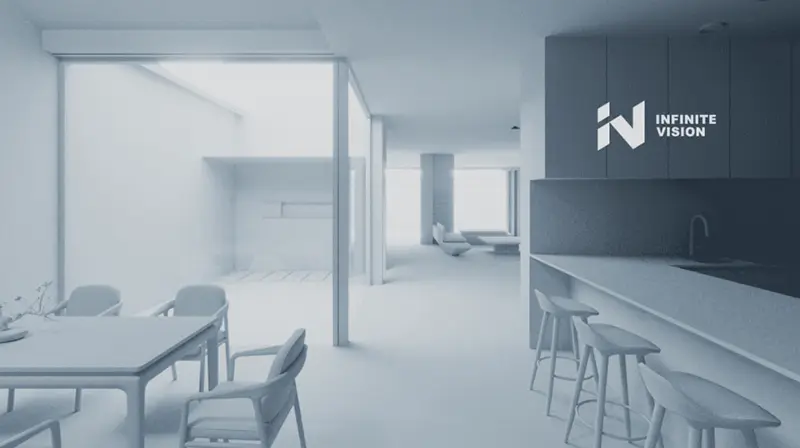
Step 1. Brainstorming Draft
For the competition or concept design projects, we will provide you draft views like we showed below. Based on our experience, we will provide you with the idea of the angle, tone, light and shadow, and atmosphere to help you better determine the final effect of each image. This process is only suitable for projects with a longer period of time, if not, we will skip this process
-
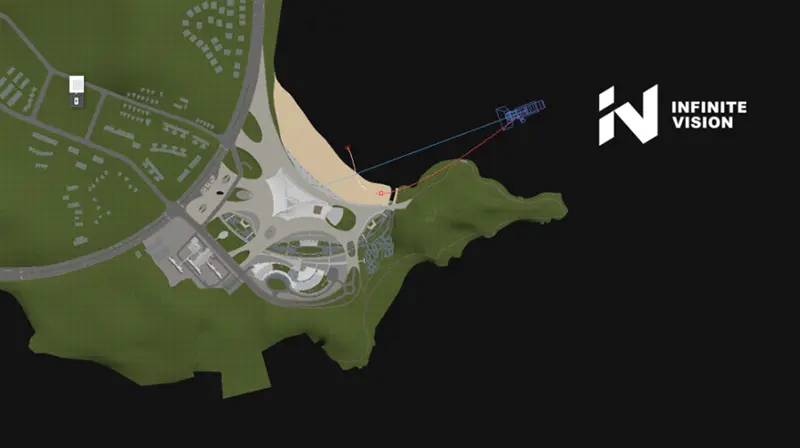
Step 2. 3D Modeling
Regarding to modeling part, using the information you’ve provided we create the 3D models and set up multiple viewpoints for you to choose from. Drafts are sent through and you are required to confirm the structures, joints, facade materials, view angle, hardscape, etc.. This process is repeated until the models and view angles are all correct. Please note that major changes in design might generate extra fees according to its complexity.
-

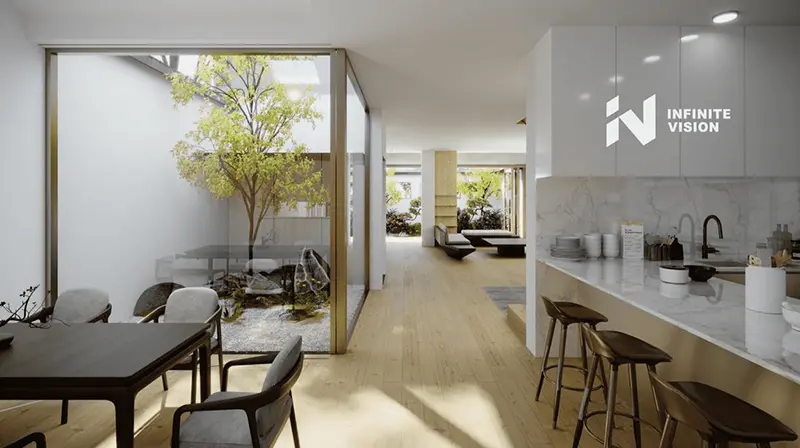
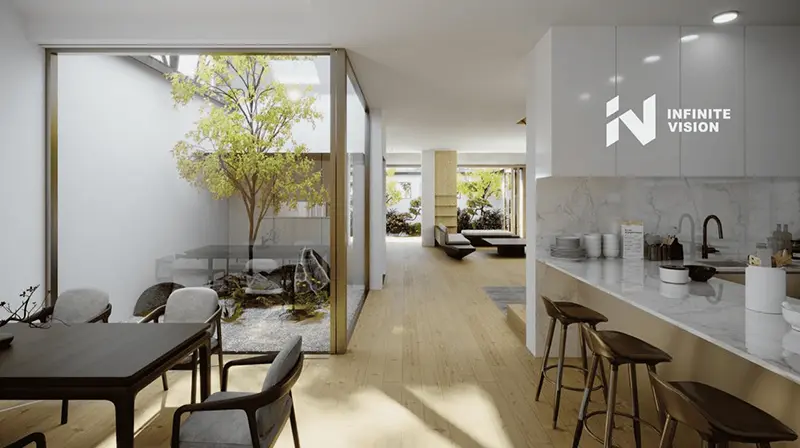
STEP3.Postwork&FINAL DELIVERY
Postwork includes rendering high-res images, retouching them in Photoshop, adding details such as streets, sidewalks, people, greenery, cars, sky, lighting, outdoor settings, activities, etc. This process is repeated until you are happy with your final choices. You should receive the final high-res image/s on 4K (interior view) or 5K (exterior view) resolution without our watermark.