Interior Rendering Guidance
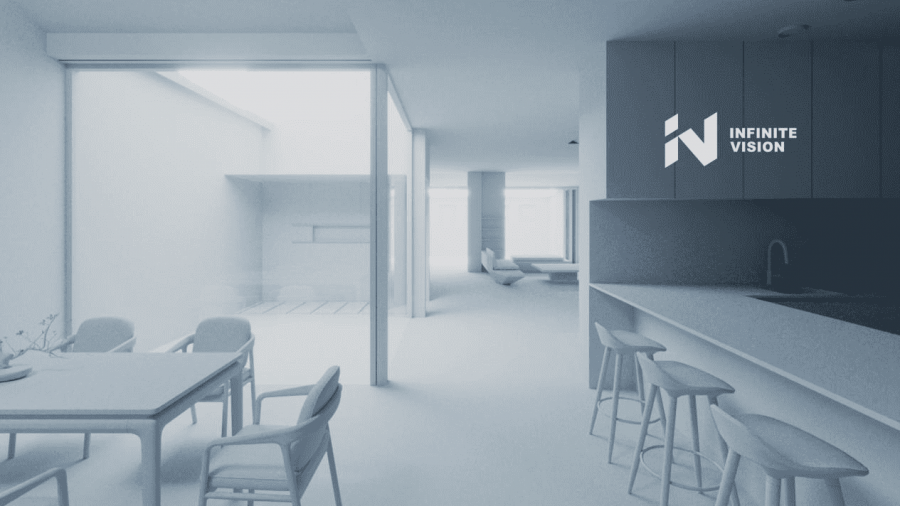
Step 1. 3D Modeling
The first step is to mass the space out by creating 3D models of the furniture and putting them in the right places based on the information you’ve provided. General massing is a great way to understand the space. It also helps us find the best camera angles to show your client their space in the best possible light. This process is repeated until the models and view angles are
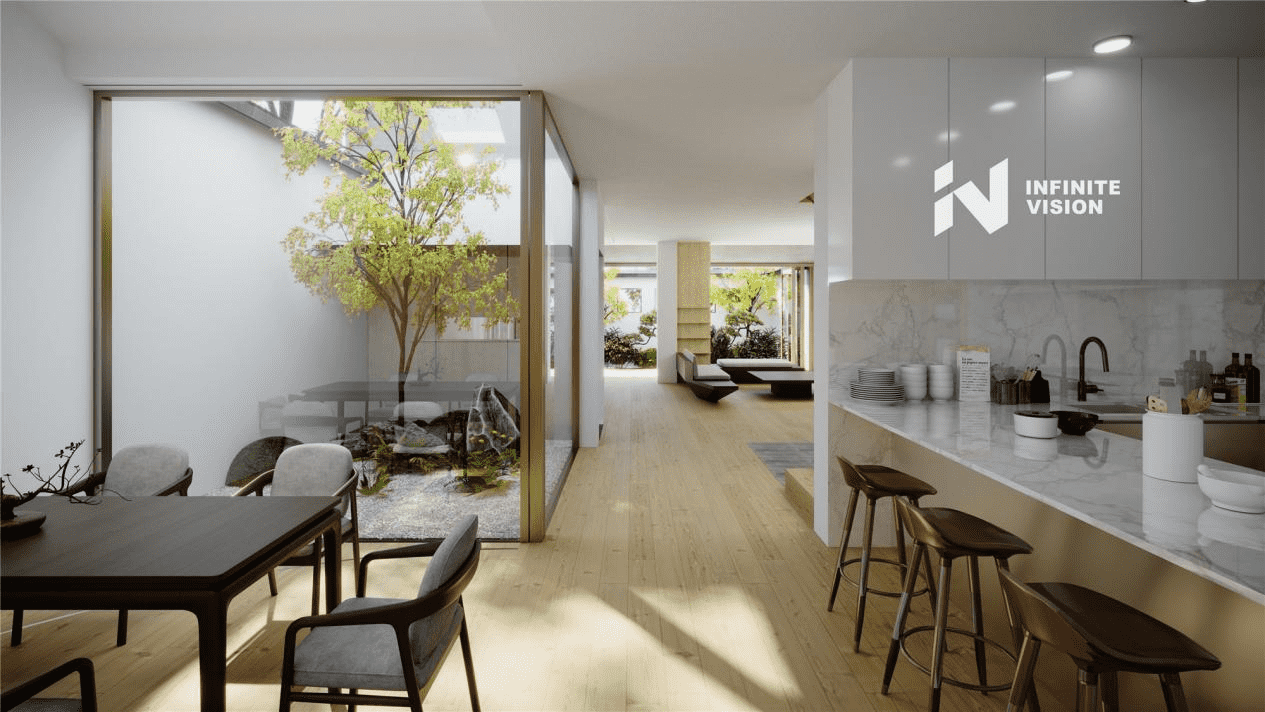
Step 2. Materials& TEXTURES
Once the viewpoint has been chosen and any initial changes made to the model we then move forward to applying the colors and materials to the image.
At this point, we require all your initial color and material selections for your project. We understand that you may not be entirely sure on this, so again for this stage, we provide further drafts. The first draft is sent through of your initial colors and materials, from there you can make changes to these and further drafts are sent through. This process is repeated until you are happy with your final choices.
STEP 3. LIGHTING, RENDERING & POSTWORK
Once the colors, materials, viewpoint and model has been fully approved we then move forward to incorporate the lighting, postwork and further details of your project. This process is repeated until you are happy with your final choices.
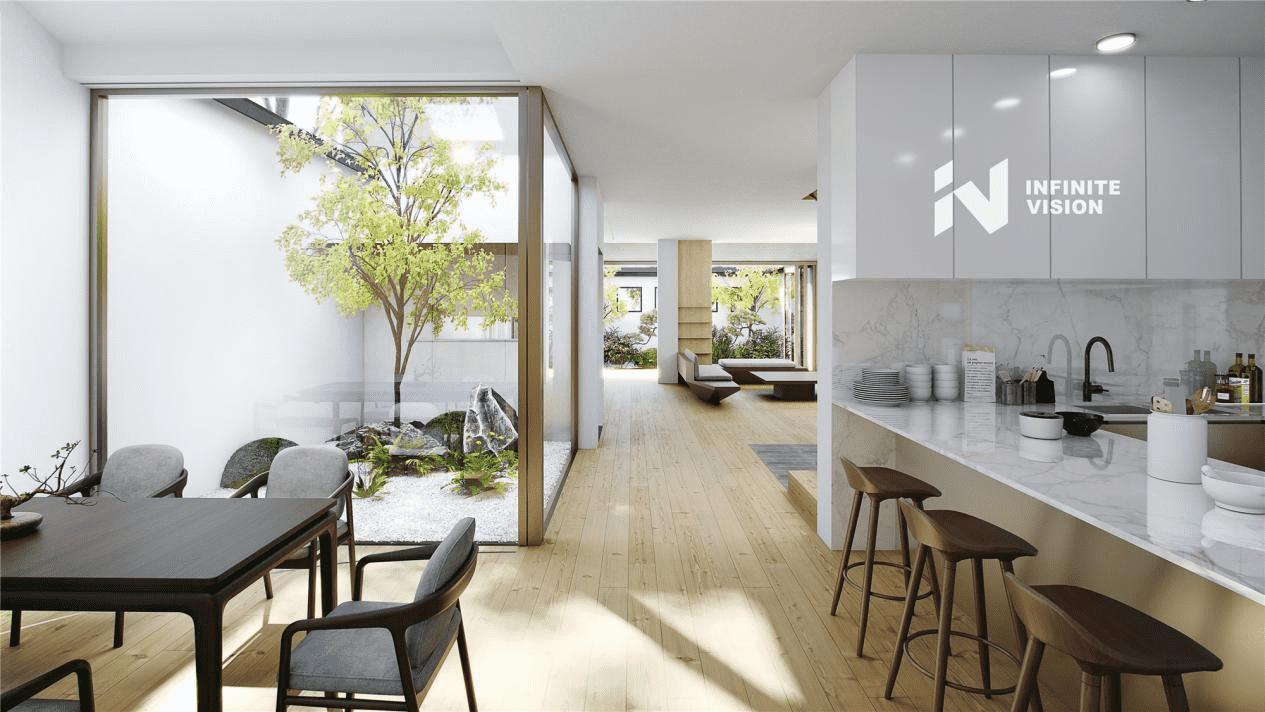
STEP 4. FINAL DELIVERY
You should receive the finalized image/s on 4K/5K resolution. The above image is an example of a fully completed final render.